Why can't I create emails?
Most likely because you have not been assigned to the workspace you are viewing!
What is a workspace?
A workspace is a "parent" directory with rights and access management by user.
You can organize your teams with workspaces according to your needs: brands, countries, languages
Within a workspace, you can have folders nested up to two levels.
How do I assign users?
Wondering why you can't create a new email even though your account has been initialized?
It is simply that the administrator has not assigned a workspace to the user.
By default, a new user is not assigned to a workspace. You need to add it to at least one of them so that it can create emails and folders in it.
Only group administrators can add users to workspaces.
In the settings section and in the workspaces tab
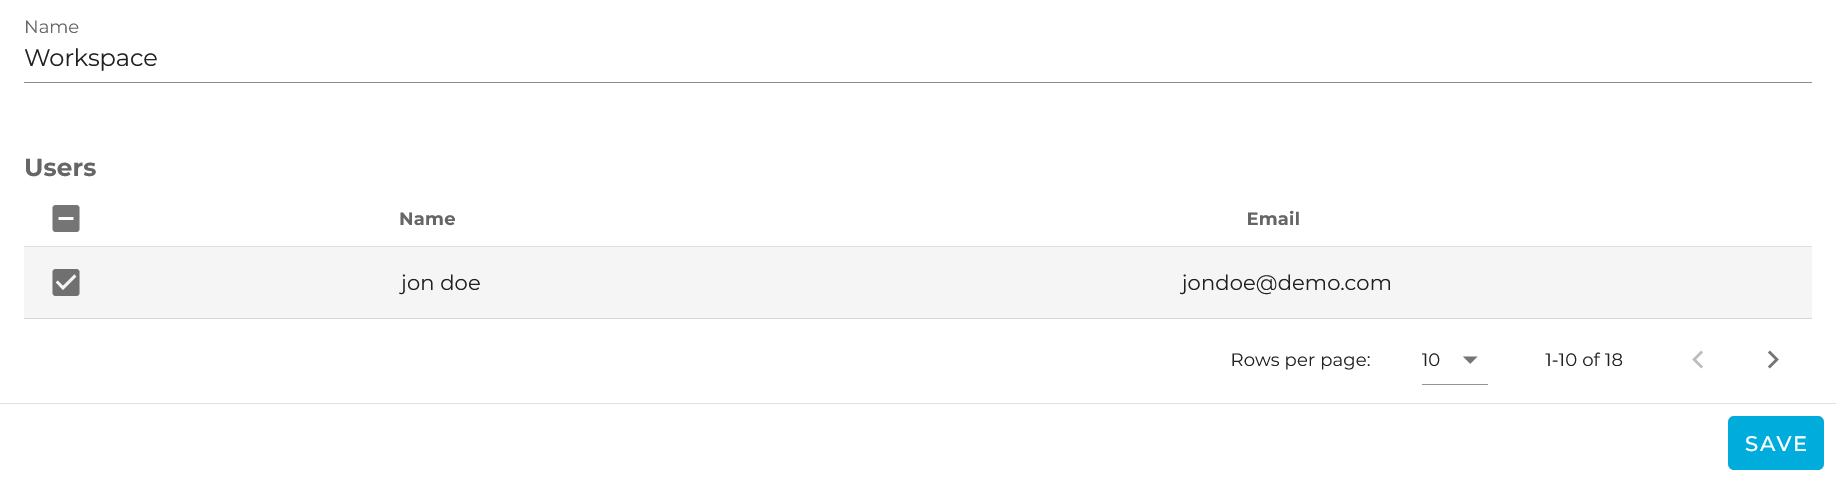
Choose the workspace you want to add users to (here there is only one), check the corresponding boxes and save.
That's it, your users can now work on the LePatron email builder 😉
How do I add a new user?
Only group administrators have the necessary rights to add and modify users and there is necessarily one (or more) in your group.
This is done in the "settings" section accessible from the blue bar at the top right.

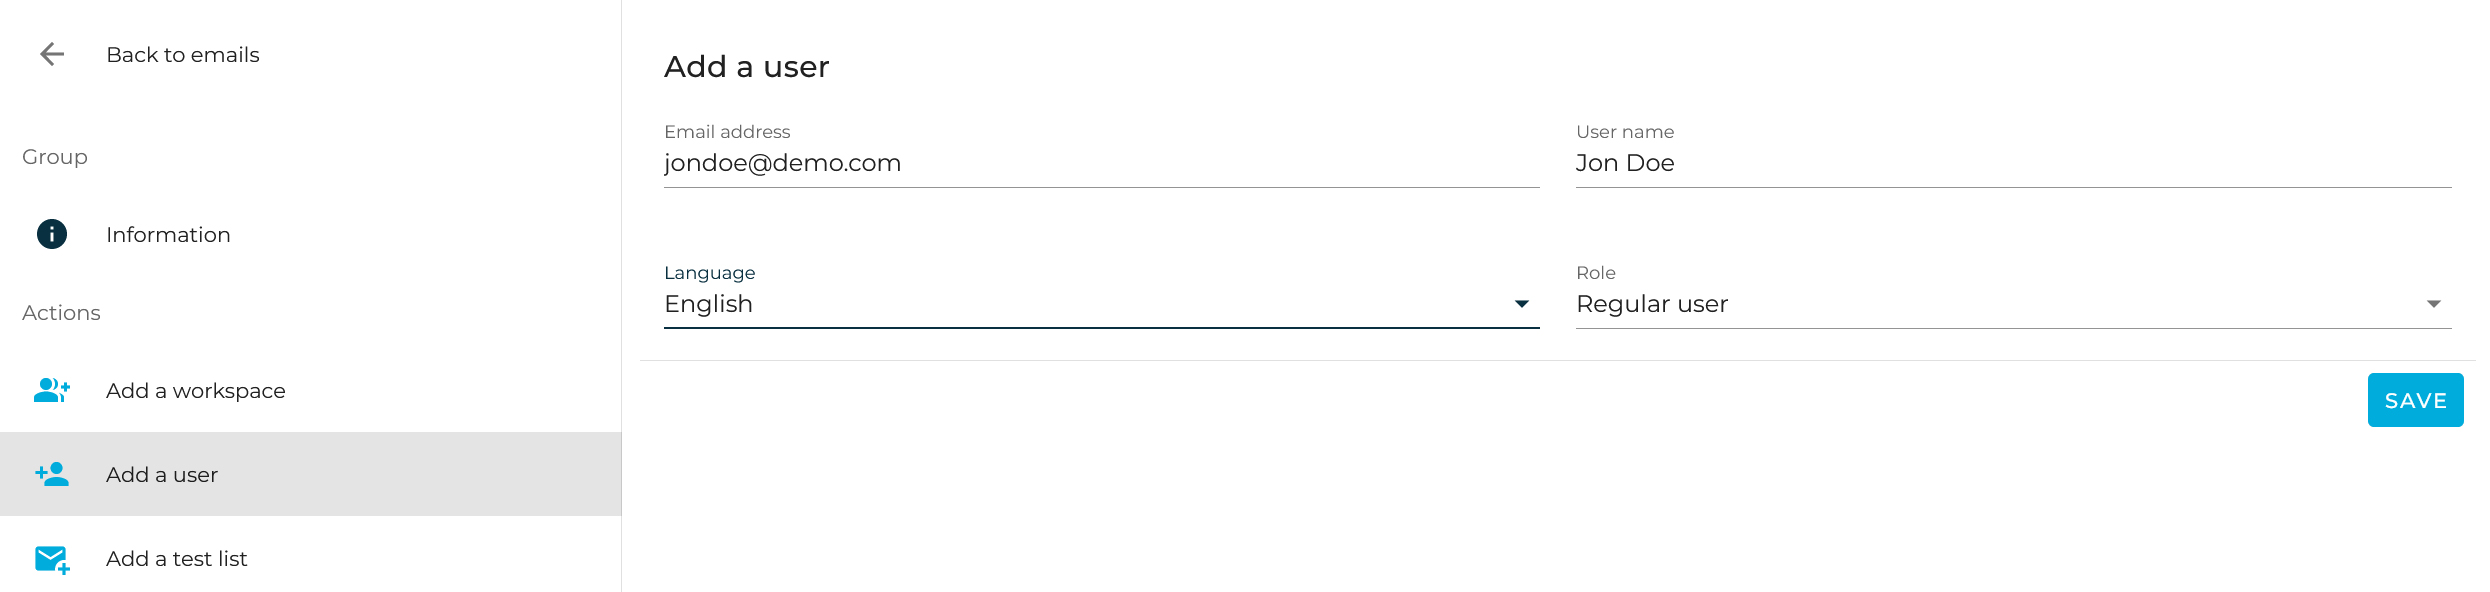
All you have to do is fill in the necessary fields:
- l'email address of the new user (this will also be his login)
- the name of the user (example: Jon Doe)
- the language the application interface (FR or EN)
- the role to define the user rights (regular or admin) To see the differences, see the corresponding FAQ
Once saved, you will be redirected to the administration of this new user account.
In order to initialize his account and define his password, you have to send the password creation e-mail.
You also have its current status (not initialized yet).
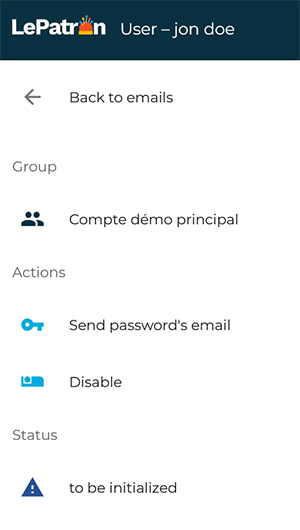
The user will receive an e-mail on the corresponding address in order to finalize his registration and to connect.
By default, the new user will not have a workspace assigned.
So you need to add it to a workspace. See the FAQ: "Why can't I create e-mails?
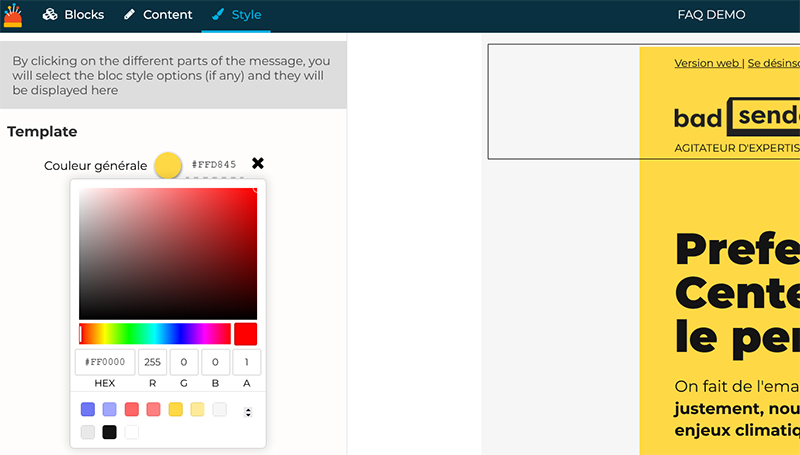
How do I set a default color chart?
Only group administrators can define a color chart of custom colors.
Go to the "settings"and in the tab "information" :
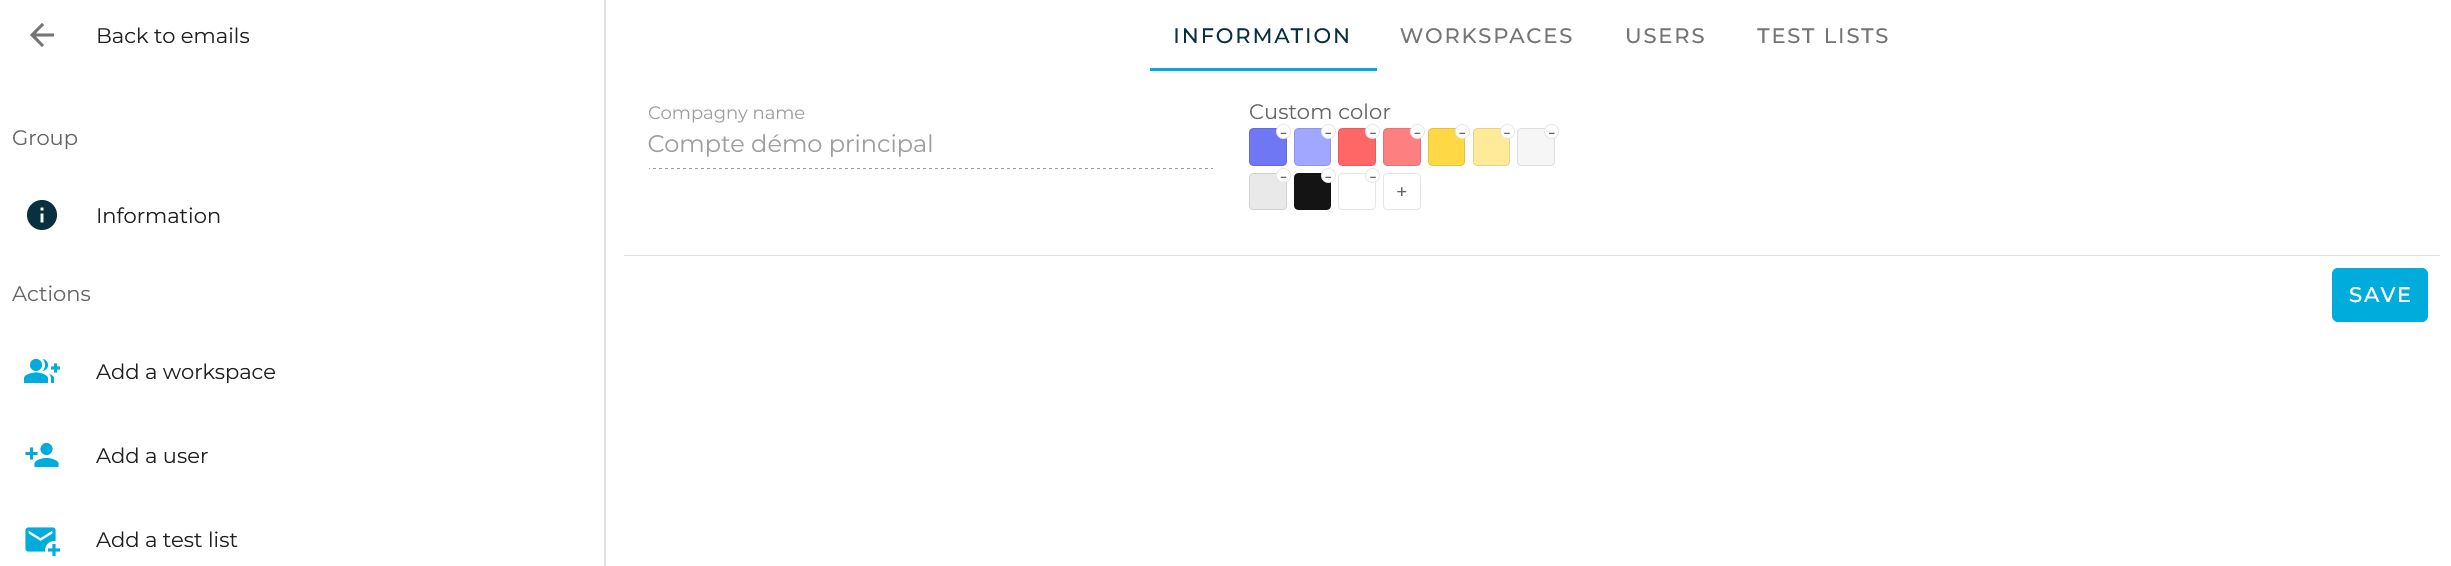
Use the color picker to define your new shade, either visually or by entering the hexadecimal code (#FFFFFF).
You can also set the transparency using the slider for the alpha layer.
Don't forget to register before leaving the tab or the page!
Now you will find this color chart in the editor in the color input fields.
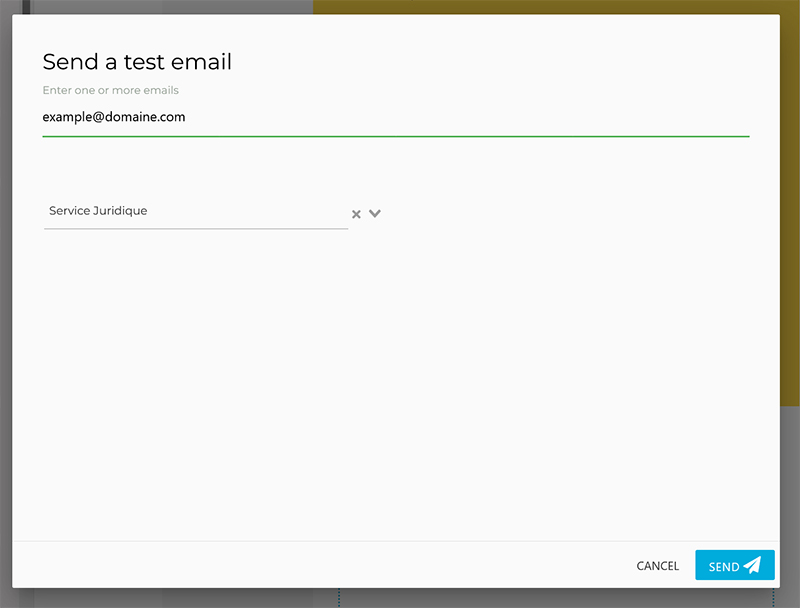
How do I create a list of email addresses for my test mailings?
In order to facilitate your creation validations, you can define lists of email addresses.
List editing is reserved for group administrators.
Administrators can add, delete and modify lists from the " settings "and the tab " test lists" .

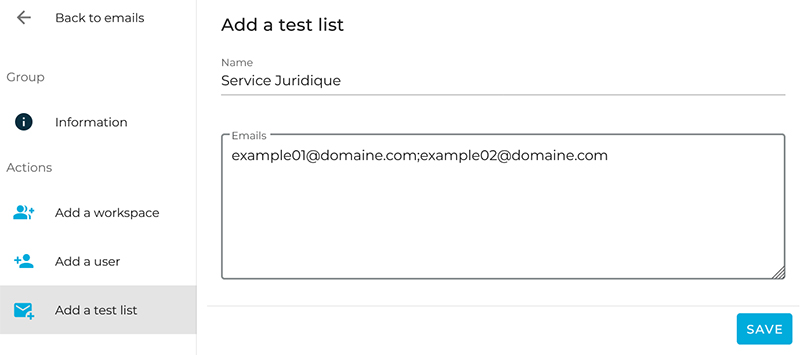
Users can then use these lists from the editor when sending a test.
Administrator or user, what are the differences?
This is a management of rights according to user roles.
The roles are classic and of two kinds: administrator and user
Users
Users have access rights and actions limited to the application.
Users are allowed to perform actions only in the workspaces to which they belong.
Actions
Their actions are mainly focused on the creation of email
- Create
- Edit
- Rename
- Move
- Duplicate
- Preview
- Download
- Manage labels (create, add and remove)
- Delete
Workspace limitations
Users can create, rename, move and delete folders only of the workspaces to which they belong.
For workspaces to which they are not assigned, they only have the right to view the emails they contain and can duplicate them to their own workspace.
Administrators
The directors have of course the same rights as the users and to this we add :
Workspace
Account administrators can access and act on all workspaces in the account.
Settings
Account administrators have access to thegroup administration age via the menu: "Settings".
From there, they can access the group's parameters, including the possibility of :
- create a custom color chart
- administer (create, edit, delete) workspaces
- administer (create, edit, suspend) users
- create lists of email addresses for sending tests
Why doesn't my background image appear in Outlook?
First of all it is important to remember that Outlook does not natively support background images. However, if Outlook is indispensable and corresponds to a large part of your opening environment, then there is a solution.
Technically this means using VML (Vector Markup Language), but using the LePatron email builder, you don't want to have to worry about that.
Constraints
Using background images and being compatible with Outlook involves a few constraints that you should be aware of:
- the block with a background image should have a fixed height
- the background image for Outlook should have the exact dimensions of the block
if these two points are not respected, then the image will be distorted to fill the block.
Okay, but why doesn't it work?
Now let's get back to the original topic: why my background image is not showing.
You need to have this option (Outlook background image) enabled in the corresponding block. This is something that must have been discussed in the master template design workshop.
Do you have the option? Ok, so now you have to use it!
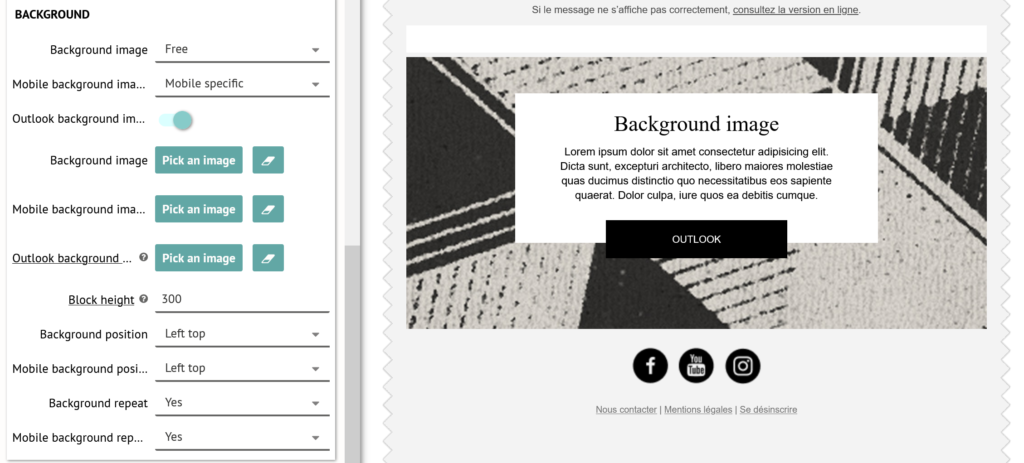
For this in the content parameters of your block you must therefore :
- define a backgroud image (for everyone except Outlook)
- activate the Outlook background image
- define the height of the block in pixels
- add the Outlook specific background image

You must therefore have two images to be sure to have an identical rendering between the different email clients.
What is this error when importing HTML into Adobe Campaign?
When you import your creation (exported from LePatron) in your router, it can "parse" the HTML (read it to vulgarize) in order to have a validity check specific to the router.
Adobe Campaign is particularly vigilant in this respect, and even downright fussy.
We could complete this FAQ with many Adobe Campaign error or warning messages but for now, let's focus on the one that comes up most often:
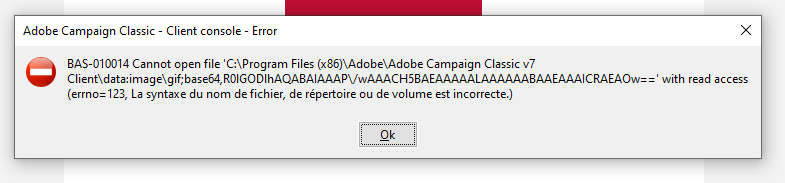
You can also see this error message in the Adobe debugging console. What is important to identify here is the file name. Yes, because the problem comes from a file called by the HTML, in this case an image.
As soon as you see "data:image\gif;base64" you have a background image enabled in a block but with no associated file.
Two solutions:
- Either you edit the HTML in your router. You do a search on "base64" and you change the URL to get the image you want
- Either correct in the builder by selecting the blocks and checking the images set in the content options
We obviously recommend the second solution. This will allow you to reuse your design without having to correct it each time you import it into Adobe Campaign.
So remember to check your blocks, if you have an active background-image (normal, mobile specific or Outlook specific) you must take care to add the expected image.
Example with three background images for the same block.
How to set up a tracking on your links?
You often ask yourself: "Can I manage my tracking from the builder?" Well, you should know that it is possible!
The functionality can be found in the content options of your template
![]()
This is one or more parameters added at the end of your URLs (redirection link) in order to be able to bring up contextualized data in your CRM or audience measurement tool.
These tracking parameters are composed of a key (identifier) associated with a value (specific to my campaign): MY_KEY=A_VALUE
You can add several tracking parameters with "+ add param".
The most common being the Google analytics UTMs you can also quickly add the 3 classics:
- utm_source
- utm_medium
- utm_campaig
The whole package is fully stackable so you can have UTMs and other trackers:
![]()
This would give the following URL: https://www.monlien.com/?MA_CLEF=UNE_VALEUR&trackerAutre=valeurAutre&utm_source=SENDINBLUE&utm_medium=EMAIL&utm_campaign=NEWSLETTER
ℹ️ Details of use
- if your links already contain a tracking, then we will add the one defined in the template in addition
- if your links already contain a tracking with an identical key, then the value entered in the link will be kept
- if your links defined by default in the header and footer use identical keys (hello utm), then it is the value entered by default in the link that will be kept
- ESP tags (mirror page, unsubscribe link) and
mailto:orsuch:are not concerned by the tracking - you must save your creation after entering these parameters so that they are saved and applied when exporting the HTML
What is export quality control?
Error is human and we are not immune to oversights.
We will therefore control certain contents in order to avoid as much as possible the back and forth between the builder and your campaign management tool.
What is controlled?
The three most sensitive contents of your email:
- forgetting a link on an image
- forgetting a link on a text or a button
- forgetting a background image in a block that is supposed to have a background image
How to access the result of the control?
The verification is done on the exported HTML file.
It is therefore when you export the email that you will get a warning message listing the different points of vigilance. The quality control will not block your export by putting it in error, but will raise an alert.
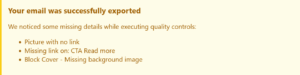
This message will appear at the top of your design and will list the points of attention in the order of your design (top to bottom).